Your Affordable Demo Video Guide for Small Businesses
If you’re a small business owner or startup founder, you’ve probably been told that “you need video”. And while that’s true, it can also feel expensive, overwhelming and slightly out of reach.
The good news? It doesn’t have to be.
This affordable demo video guide will walk you through exactly how to plan a product demo video on a budget, without cutting corners on quality. You’ll learn how to think strategically, avoid common mistakes, and make the most of the equipment and resources you already have.
Because here’s the truth: a great demo video is more about clarity and planning than it is about fancy gear.
Why a Product Demo Video Is Worth It
Before we dive into planning, let’s quickly talk about why demo videos matter.
A well-planned product demo video can:
- Increase trust and credibility
- Reduce pre-sale questions
- Improve conversion rates
- Help customers understand your product faster
- Support ads, landing pages and email campaigns
In other words, it works hard across your entire marketing funnel.
However, the keyword here is planned. Throwing together a quick video with no structure rarely delivers results. Instead, you need a simple, focused strategy, especially when working on a budget.
Step 1: Get Clear on the Goal (Before You Pick Up a Camera)
This is where most people go wrong.
They start thinking about angles, lighting, editing software, but they haven’t defined what the video is supposed to achieve.
So ask yourself:
- Is this video for your homepage?
- Is it for paid ads?
- Is it for social media?
- Is it to reduce support queries?
- Is it to help close sales calls?
Your answer changes everything.
For example:
- A homepage demo might be 60–90 seconds and high-level.
- A product tutorial could be 3–5 minutes and detailed.
- A social media demo needs to hook viewers in 3 seconds.
If you skip this step, you’ll waste time filming the wrong content.
Step 2: Define One Core Message
When budgets are tight, clarity becomes your biggest advantage.
Do not try to explain everything.
Instead, answer this: What is the one main problem this product solves?
Now build your demo around that.
A simple structure works brilliantly:
- The problem
- The solution (your product)
- How it works
- The result
Keep it focused. The tighter the message, the stronger the impact.
Step 3: Write a Simple Script (Even If You Hate Scripts)
Winging it might feel natural, but it rarely sounds professional.
You don’t need a word-for-word script if that feels restrictive. However, you absolutely need:
- Key talking points
- Clear order of information
- A defined introduction
- A strong call to action
For an affordable demo video guide approach, keep your script conversational and natural. Speak as if you’re explaining the product to a customer in person.
Short sentences. Clear language. No jargon.
And remember: clarity converts.
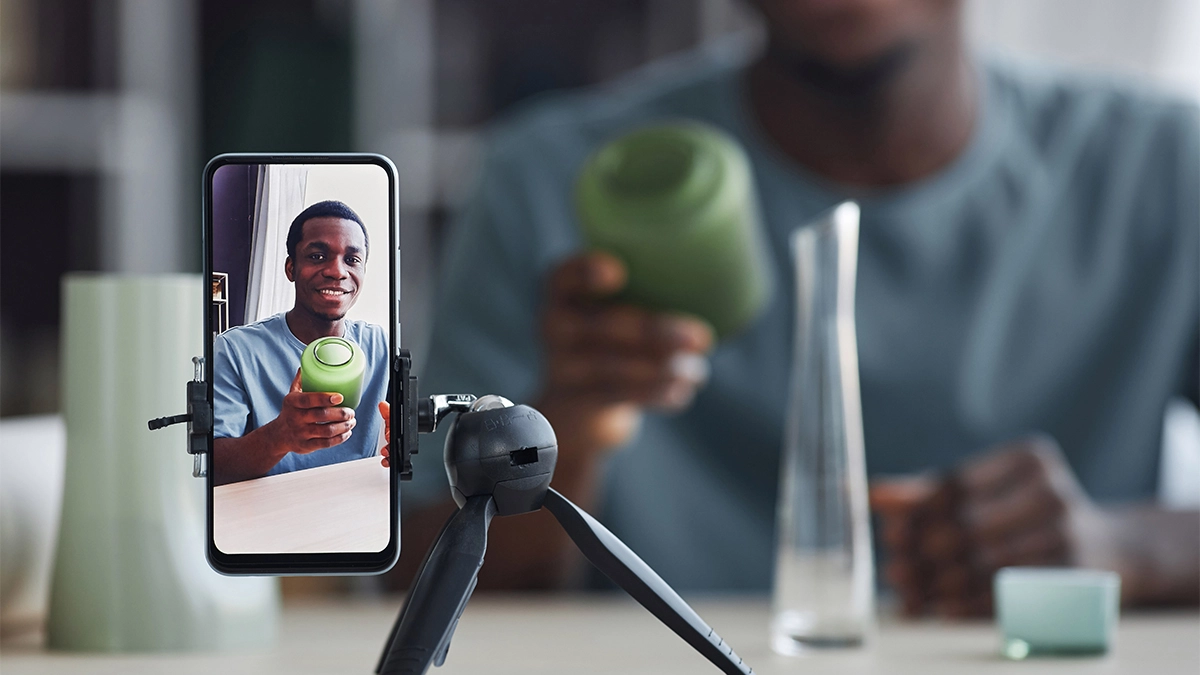
Step 4: Plan Your Shots Properly
Planning saves money.
Every minute you spend thinking before filming reduces time spent re-recording, editing and fixing mistakes.
Write down:
- Opening shot
- Product close-ups
- Demonstration sequence
- Supporting visuals
- Closing shot
For example:
- Wide shot introducing the product
- Close-up of key features
- Over-the-shoulder demo
- Screen recording (if digital)
- Customer-use scenario
The more organised you are, the smoother the filming process becomes.
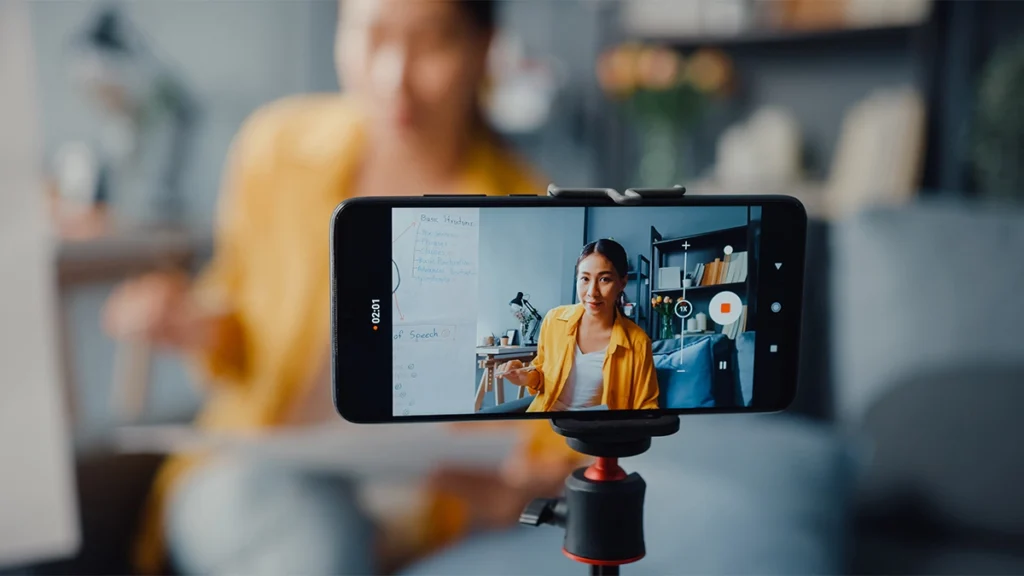
Step 5: Use the Equipment You Already Have
You do not need cinema-level gear to create a strong demo video.
In fact, most small businesses can start with:
- A modern smartphone
- Natural window light
- A tripod
- A simple microphone
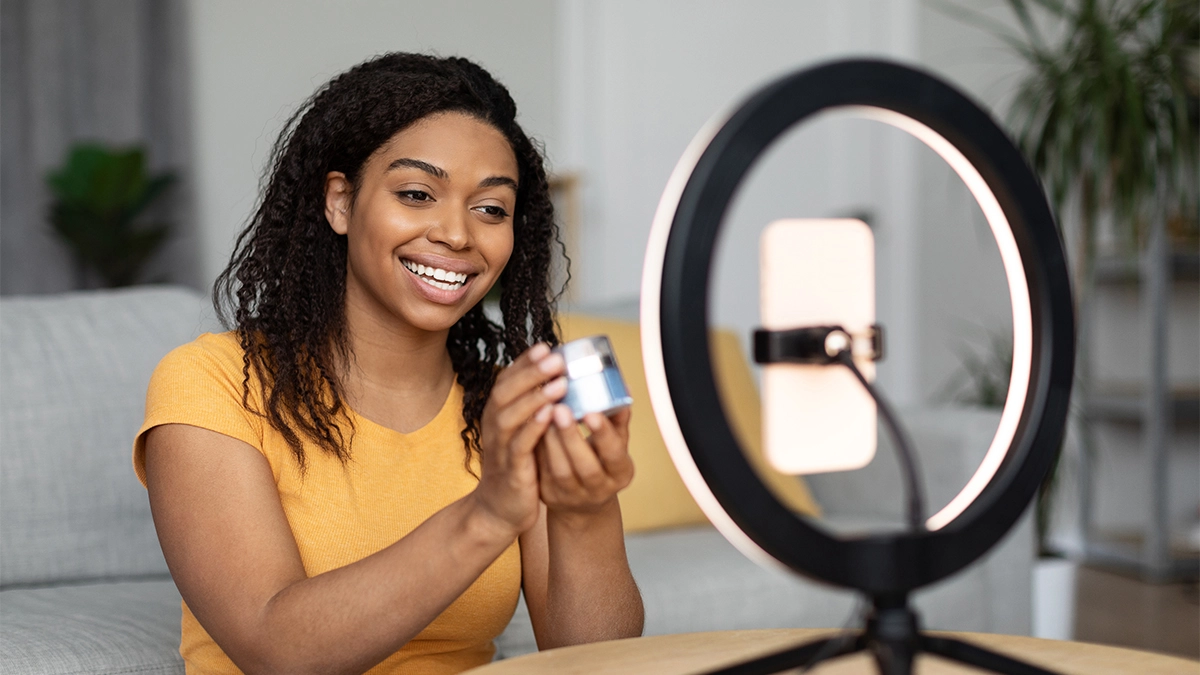
Lighting matters more than camera price.
So instead of upgrading your camera, focus on:
- Filming near a window
- Avoiding harsh overhead lighting
- Keeping the background clean and uncluttered
Good lighting instantly improves perceived quality.
Step 6: Keep the Background Simple
Clutter kills credibility.
When filming on a budget, a clean environment does more for you than expensive backdrops.
Options include:
- A neutral wall
- A tidy workspace
- A branded banner
- A consistent colour background
Make sure nothing distracting appears behind you. Viewers should focus on the product, not the mess in the corner.
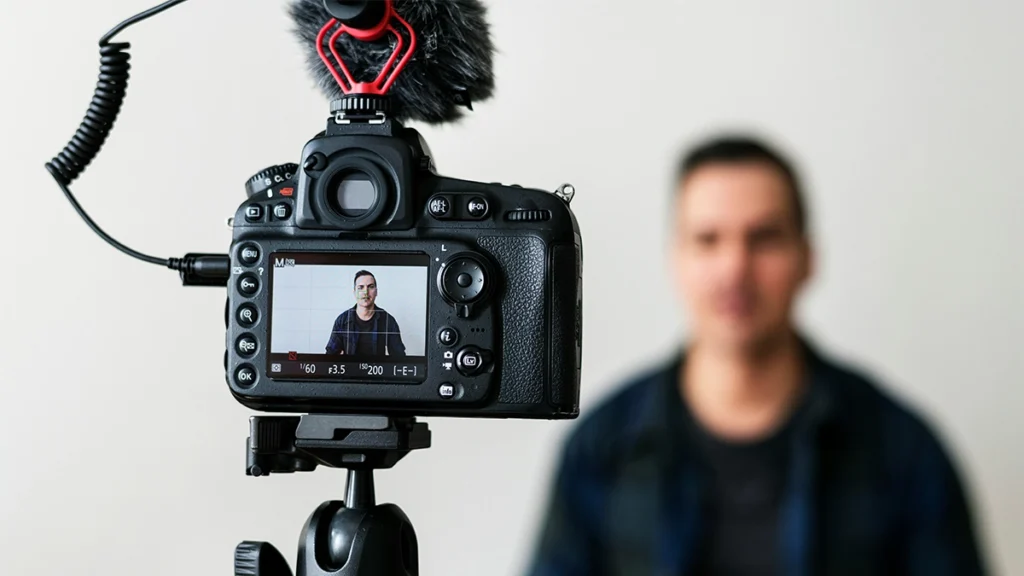
Step 7: Prioritise Audio Quality
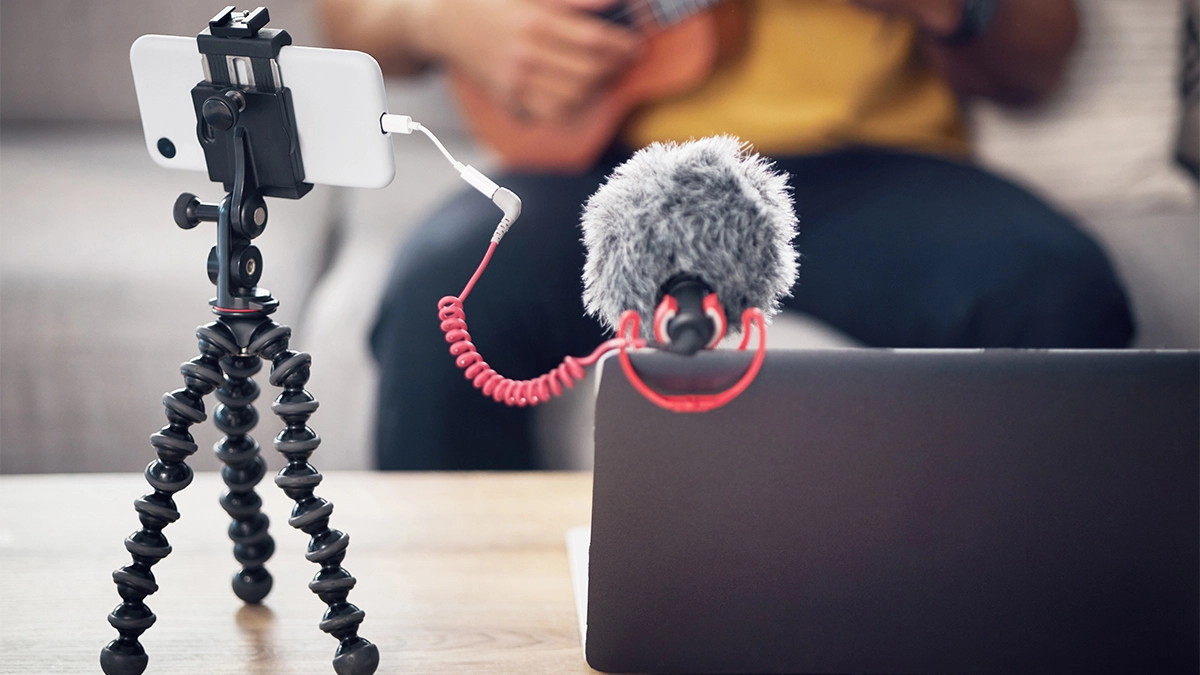
Poor audio ruins more videos than poor visuals.
If your sound is unclear, echoing or muffled, people will switch off, even if the video looks great.
Budget-friendly improvements include:
- A wired lavalier mic
- A basic shotgun mic
- Recording in a quiet room
- Turning off fans and appliances
Audio is one area where spending a small amount makes a big difference.
Step 8: Keep It Short and Focused
One of the biggest mistakes in product demos is over-explaining.
Remember:
People do not want a lecture. They want clarity.
Aim for:
- 60–90 seconds for marketing use
- 2–4 minutes for tutorials
If you need more detail, create separate videos.
Shorter videos are easier to produce, easier to edit and more effective for conversions.
Step 9: Add Simple Branding (Without Overdoing It)
Even on a budget, branding matters.
Include:
- Your logo at the beginning or end
- Brand colours in graphics
- Consistent font choices
- A clear call to action
However, avoid:
- Over-animated intros
- Distracting transitions
- Excessive effects
Professional doesn’t mean complicated.
Step 10: Plan the Edit Before You Film
Editing becomes easier when you already know:
- Where text overlays will go
- Where you’ll cut between shots
- Where music will sit
- Where captions appear
This avoids awkward framing and re-shooting.
When following this affordable demo video guide approach, efficiency is everything. The more intentional your filming, the faster your edit.
Step 11: Add Captions (Always)
Many people watch videos without sound.
Captions:
- Improve accessibility
- Increase engagement
- Boost retention
- Support social performance
Most editing platforms now offer auto-caption tools. Just make sure to review them for accuracy.
Step 12: Choose the Right Call to Action
Do not assume viewers know what to do next.
Tell them clearly:
- “Book a demo today”
- “Visit our website”
- “Start your free trial”
- “Order now”
Your demo video should move viewers somewhere.
Without a clear CTA, it becomes content without purpose.
Budget Breakdown: What You Actually Need to Spend
Here’s a realistic entry-level budget for small businesses:
- Lavalier mic: £20–£60
- Tripod: £20–£50
- Basic lighting (optional): £50–£100
- Editing software: Free–£20/month
That’s it.
You can create a strong product demo video for under £200 in equipment.
And once you own it, you can reuse it again and again.
DIY vs Hiring a Professional
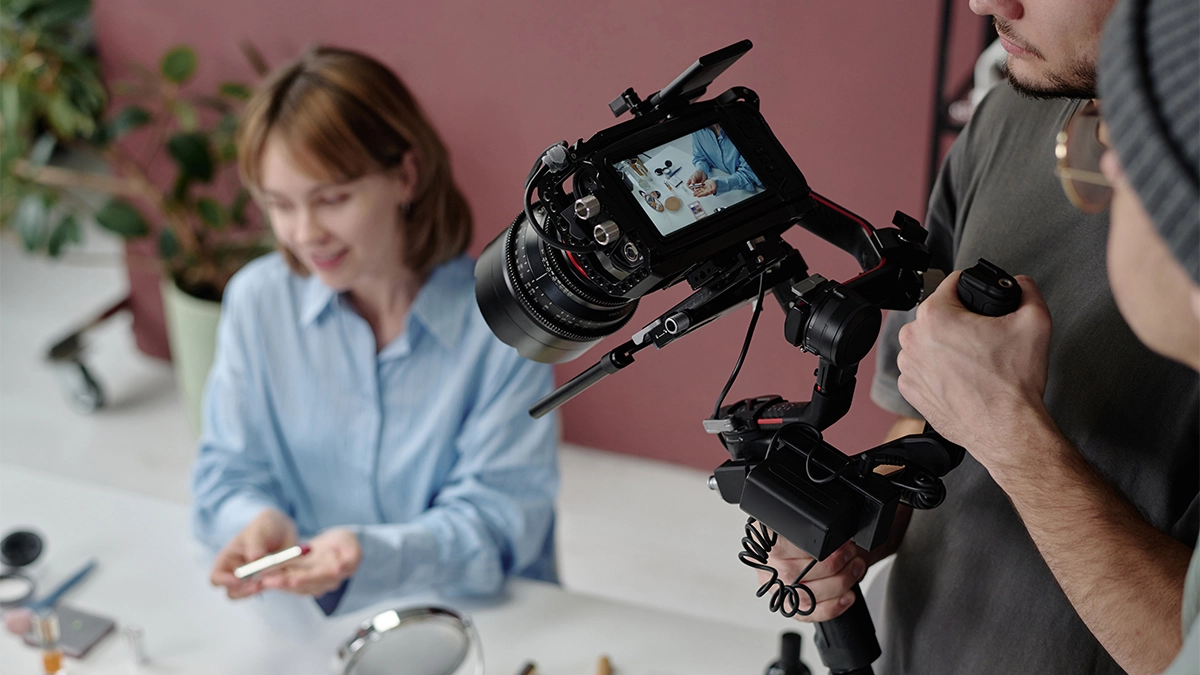
There’s nothing wrong with starting DIY.
However, ask yourself:
- Is your time better spent elsewhere?
- Will a stronger video increase conversions enough to justify outsourcing?
- Do you need multiple videos long-term?
Sometimes, investing in professional support is actually more cost-effective.
However, if you’re just starting out, this affordable demo video guide approach gives you a structured way to produce something strong without overspending.
Need help from a professional?
Check out our videography services
Common Mistakes to Avoid
Let’s save you some pain.
Avoid:
- Filming without a plan
- Overcomplicating the message
- Ignoring audio
- Making it too long
- Using cluttered backgrounds
- Forgetting the call to action
Simplicity wins.
Repurpose Your Demo Video
To maximise your budget, do not create just one asset.
Repurpose it into:
- Short clips for social media
- Website snippets
- Email content
- Paid ad creatives
- GIF previews
- Product page embeds
One filming session can power weeks of marketing.
That’s where the real ROI comes from.
Measuring Success
After publishing your demo video, track:
- Watch time
- Click-through rate
- Conversion rate
- Engagement rate
- Drop-off points
Then refine.
Video marketing is not about perfection. It’s about iteration.
When to Upgrade Your Setup
Upgrade only when:
- You consistently produce content
- Your current quality is limiting growth
- Your brand positioning demands higher production
- You’ve proven video drives revenue
Do not upgrade for ego.
Upgrade for strategy.
Final Thoughts
A strong product demo video is not about having the most expensive camera.
When you approach it methodically, you reduce waste, save time and increase impact.
This affordable demo video guide proves that small businesses can create effective demo videos without blowing their marketing budget.
Start simple. Stay focused. Improve over time.
And most importantly – press record.