If you’re a small business owner or startup founder, you already know the importance of standing out. But when your budget is tight, investing in professional branding might feel out of reach.
The good news? You don’t need a big budget to create a memorable and consistent visual identity. With a bit of time, creativity and the right DIY branding tips, you can build something that looks professional and connects with your audience.
In this guide, we’ll break down the essentials of DIY branding, walk you through each element step by step, and share free (or low-cost) tools you can use along the way. Let’s get started.
What is a Visual Identity?
Your visual identity is how your brand looks. It includes your logo, colours, fonts, imagery, and any design elements representing your business. A strong visual identity helps you look professional, builds customer trust, and makes your brand instantly recognisable.
Even if your product or service is amazing, inconsistent or low-quality visuals can make your business feel unreliable or amateur. That’s why it’s worth getting this right—even if you’re doing it yourself.
Step 1: Define Your Brand
Before jumping into design, take a moment to get clear on who you are as a brand. This will make all your visual decisions easier and more consistent.
Ask yourself:
- What do I offer, and who do I help?
- What makes my business different?
- What values do I want to communicate?
- How do I want people to feel when they see my brand?
Once you’ve answered these, write them down. This becomes your foundation for all branding decisions moving forward.
Step 2: Choose Your Colour Palette
Colour has a huge impact on how people perceive your brand. For example, blue can feel trustworthy and calm, while red is bold and energetic.
Start by choosing 2–3 main colours:
- Primary colour – the main colour people will associate with your brand.
- Secondary colour – used for accents and variation.
- Neutral colour – white, black or grey to keep things balanced.
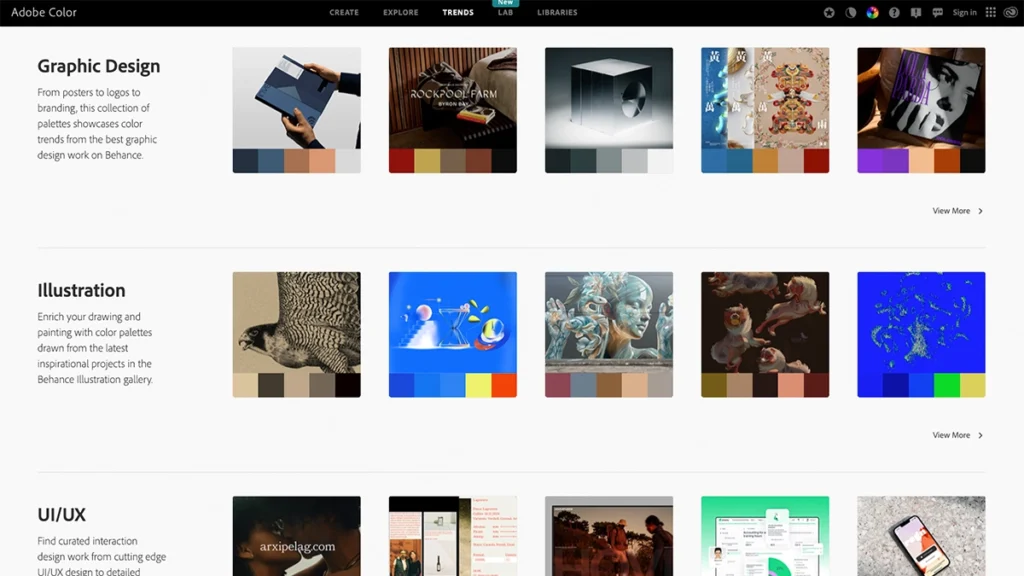
Free Tool Tip: Use Adobe Color to generate colour palettes that work well together.
Make sure your colours are consistent across all your materials—from social media posts to your website.
Step 3: Pick Your Fonts
Fonts say a lot about your brand. A modern sans-serif font might feel clean and approachable, while a serif font feels more traditional or sophisticated.
Choose no more than two fonts:
- Heading font – bold and eye-catching for titles.
- Body font – simple and easy to read for paragraphs.
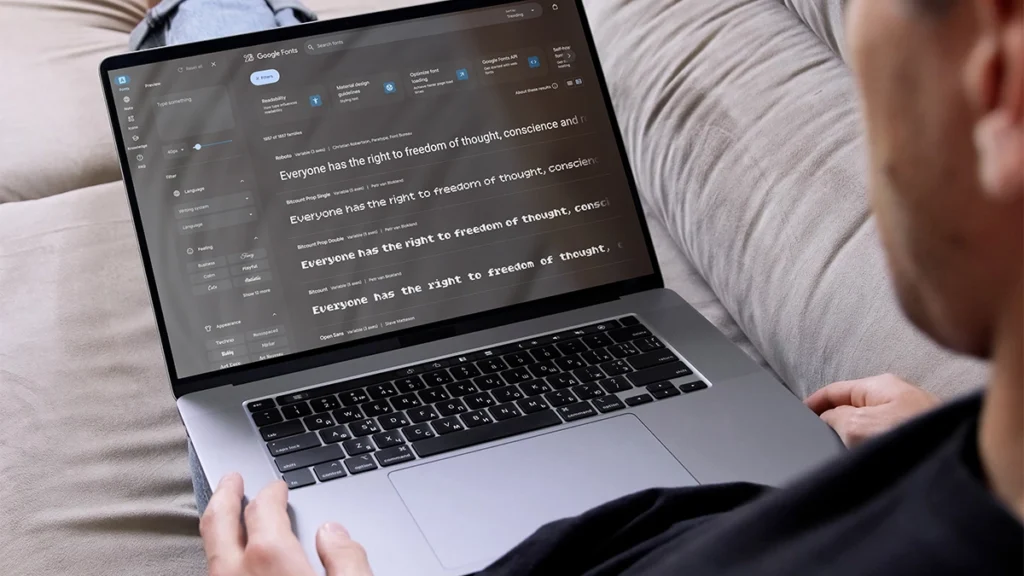
Free Tool Tip: Google Fonts is a great resource. All the fonts are free to use and web-safe.
Once you’ve picked your fonts, use them consistently. Don’t switch it up unless you have a good reason.
Want help turning these ideas into real content?
Check out our branding services for small businesses
Step 4: Design Your Logo
A logo is often the first thing people notice about your brand. But you don’t need to hire a designer to get something clean and functional.
There are a few types of logos:
- Wordmark – your business name in a stylised font (e.g. Google, Coca-Cola).
- Lettermark – initials or abbreviations (e.g. BBC, HP).
- Icon or symbol – a graphic image that represents your brand.
For most DIY-ers, a wordmark is the easiest to create and use.
Free Tool Tip: Try Canva’s logo maker for creating simple logos without needing design skills.
When designing your logo, keep it simple. It should be clear even when small (like on social media icons).
Step 5: Create a Brand Style Guide
Once you’ve made these visual choices, pull everything together into a mini style guide. This doesn’t need to be fancy. A simple PDF or Google Doc will do.
Include:
- Your logo (main and simplified versions)
- Your colour codes (hex values)
- Your font names and how they should be used
- Examples of correct branding (like sample social media posts)
This will save you time and help keep things consistent as your business grows.
Step 6: Build Branded Templates
To keep things looking polished, create a few go-to templates for regular content. This could be:
- Social media graphics
- Email signatures
- Business cards
- Website banners
Free Tool Tip: Canva is brilliant for this. You can create templates and reuse them every time you post or send an email.
Consistency is what turns DIY branding into something that feels professional.
Step 7: Use Your Branding Everywhere
Now that you’ve created your visual identity, it’s time to actually use it! Apply your branding to:
- Your website
- Social media profiles
- Emails
- Packaging or invoices
- Any public-facing documents
This helps build recognition. People will start to associate your visuals with your business—and that builds trust.
Common DIY Branding Mistakes (and How to Avoid Them)
Even with the best intentions, it’s easy to go off-track. Here are a few pitfalls to watch out for:
- Too many fonts or colours:
Keep it simple. More isn’t better—it’s just confusing. - Changing styles too often:
Don’t redesign everything every week. Pick a direction and stick with it. - Low-resolution images or logos:
Always use high-quality files. - Inconsistent branding across platforms:
Your Facebook page shouldn’t look completely different from your website.
Remember, consistency builds credibility.
Bonus Tips to Elevate Your Branding
- Get feedback:
Show your visuals to a few trusted people. Ask what they think and what your branding makes them feel. - Check competitors:
What are others in your industry doing? You don’t want to copy, but it helps to understand what’s expected. - Think long-term:
Choose visuals that will still make sense as your business grows.
You Don’t Have to Do It All Alone
DIY branding is a brilliant way to save money and learn more about your business. But if you hit a wall, don’t be afraid to get support.
At 404 Marketing, we often work with small businesses who’ve started their branding themselves and just need help pulling it all together.
Whether it’s refining your colour palette or building out your website, we’re here to help you grow.
Want help turning these ideas into real content?
Check out our branding services for small businesses
Final Thoughts
Creating a strong visual identity doesn’t need to break the bank. With the right tools, a bit of planning, and these DIY branding tips, you can build something that looks great and grows with your business.
So, grab a notebook, start sketching your ideas, and bring your brand to life—one colour and font at a time.
Looking for help with your branding? 404 Marketing offers friendly, hands-on support for small businesses and startups. Whether you need a professional brand refresh or just a bit of advice to get started, we’re here to help.